In sunny Florida, the humid climate is an ever-present force. While we love the tropical weather, it presents a unique challenge for homeowners: the constant battle against mold, mildew, and grime on grout lines. Over time, the porous nature of grout makes it a perfect host for these unwelcome guests, leaving your beautiful bathroom and kitchen tiles looking dull and dirty.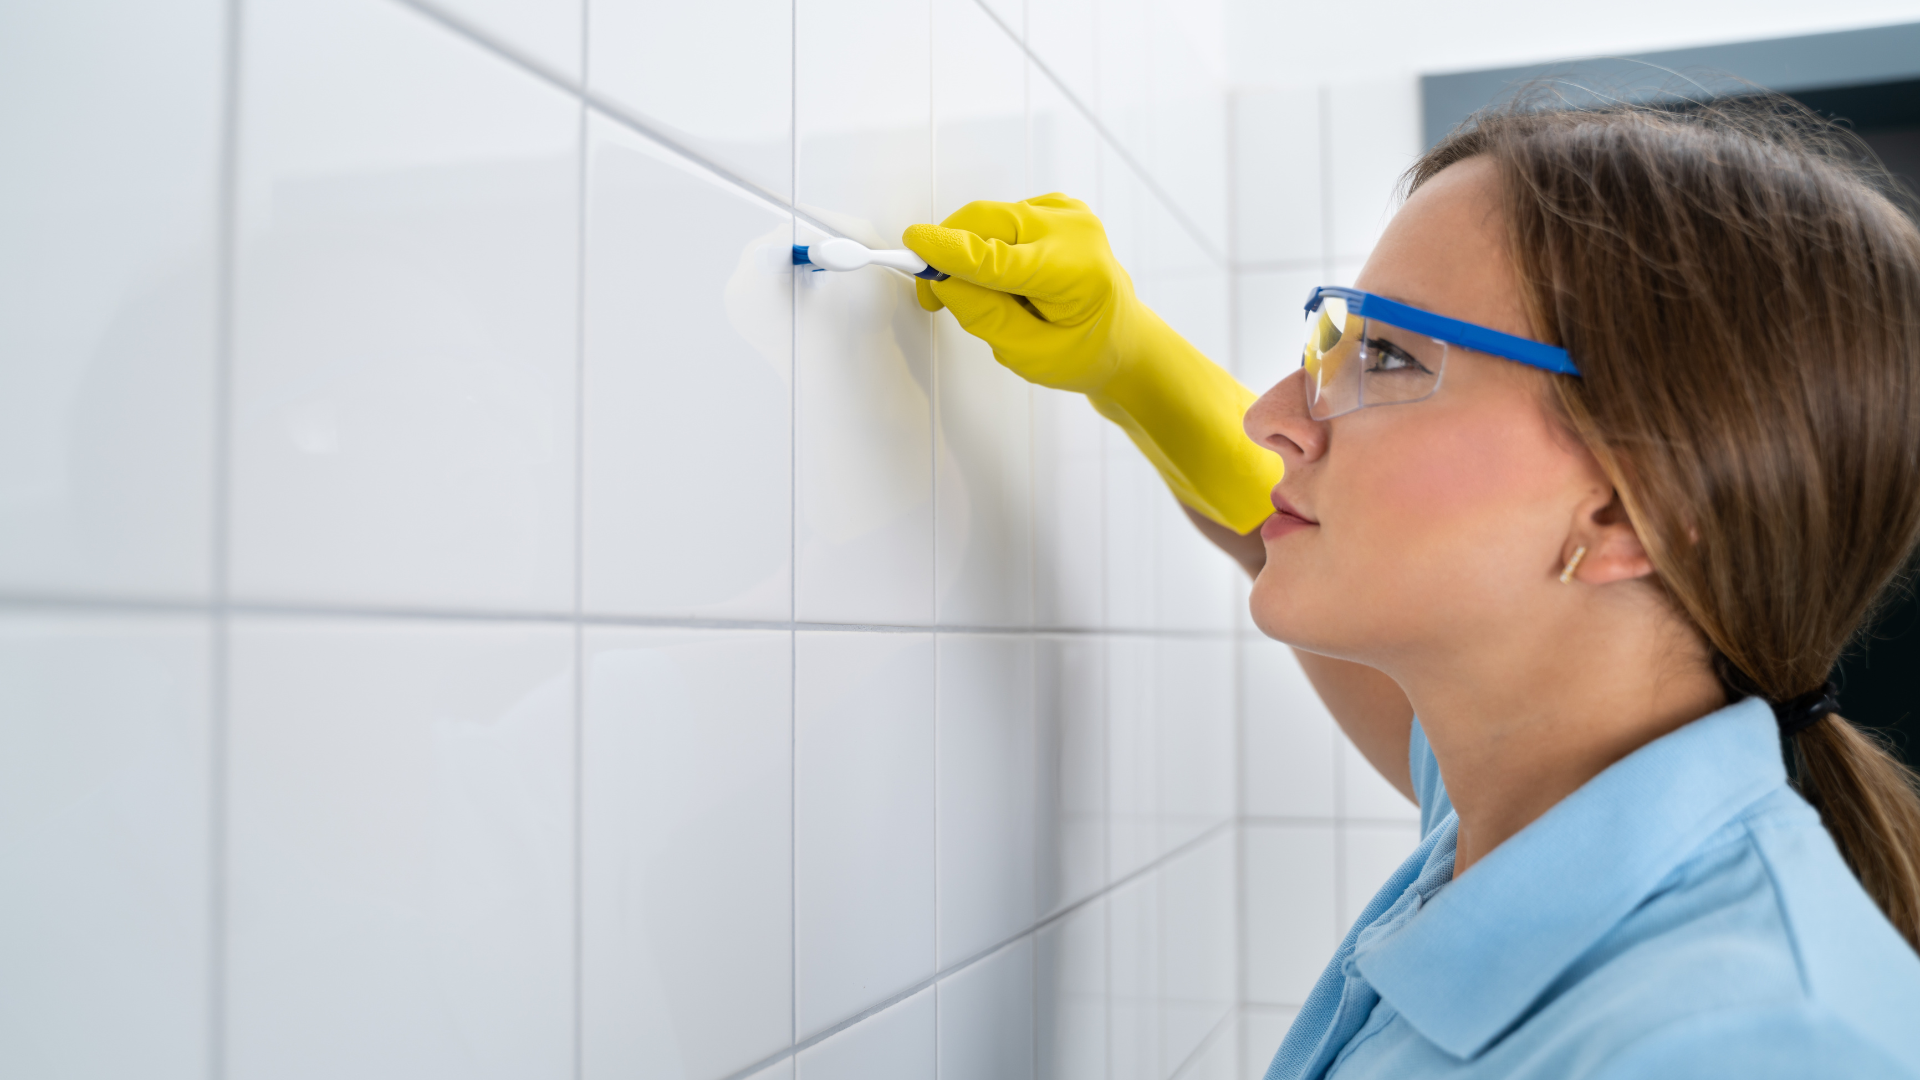
But you don’t need a professional to get back that sparkling-clean look. With a few simple steps and the right tools, you can perform a DIY Grout Rescue that refreshes your tiles and protects them from future moisture. This guide will walk you through the essential process of cleaning, repairing, and sealing your grout, turning a common maintenance chore into a rewarding project that keeps your Florida home looking its best.
Your DIY Grout Rescue Plan: 3 Steps to Sparkling Tiles
Ready to restore your tiles to their former glory? Follow this simple, three-step plan to tackle the challenge of grout maintenance in a humid environment.
Step 1: The Deep Clean (Erase Years of Grime)
The first and most critical step is to thoroughly clean the grout lines, eliminating built-up dirt, mildew, and mold.
Gather Your Tools: You’ll need a stiff nylon brush (an old toothbrush or grout brush works well), a bucket, and a spray bottle. For tough grime, a handheld electric scrubber can save you a lot of effort.
The Cleaning Solution:
Commercial Grout Cleaner: For heavy-duty stains, an oxygen bleach-based commercial cleaner is highly effective. Always follow the manufacturer’s instructions and ensure the area is well-ventilated.
DIY Alternative: A powerful and eco-friendly option is a paste made from baking soda and hydrogen peroxide. Apply the paste, let it sit for about 15 minutes, then scrub vigorously. For a more acidic approach to dissolve mineral deposits, a 50/50 mix of water and vinegar can be effective, but be careful not to use it on natural stone tiles.
The Process: Apply your chosen solution to the grout lines and let it sit to break down the grime. Scrub the lines with your stiff brush, wiping away the residue with a damp cloth or sponge. Repeat the process on any stubborn areas.
Step 2: The Repair (Fixing Cracked & Crumbling Grout)
If your grout is cracked, crumbling, or missing in spots, cleaning isn’t enough. You need to repair it to prevent water from seeping behind the tiles.
Remove Old Grout: Use a grout saw or an oscillating tool with a grout removal blade to carefully scrape out the old grout. Be sure to wear a mask to avoid inhaling dust. Go slowly to avoid chipping the edges of your tiles.
Prepare the New Grout: Mix a new batch of grout according to the package directions. Ensure it has a thick, peanut butter-like consistency.
Apply and Finish: Use a grout float to press the new grout firmly into the clean, empty spaces. Wipe off the excess with the float at a 45-degree angle. After about 15-20 minutes, wipe the tiles with a damp grout sponge, rinsing it frequently. Allow the grout to cure for 24-48 hours.
Step 3: The Seal (Your Armor Against Florida Humidity)
This is the most important step for long-term protection in a humid climate. Sealing creates a protective barrier that repels water and stains, making future cleaning much easier.
Choose Your Sealer: Opt for a high-quality penetrating grout sealer. This type of sealer soaks into the grout to form a barrier from within, rather than just sitting on top. This is more durable and effective against moisture.
Apply the Sealer: Ensure the grout is completely dry (wait at least 24 hours after cleaning or re-grouting). Apply the sealer with a small brush or applicator bottle, following the grout lines. Wipe up any excess from the tile surface with a dry cloth immediately.
Curing: Let the sealer cure for the time specified on the package (usually 24 hours). A second coat can provide even greater protection.
Conclusion: A Sparkling Home, A Smarter Homeowner
Tackling grout maintenance may seem daunting, but armed with these simple DIY solutions, you can achieve professional-looking results and proactively protect your home. By regularly cleaning, repairing, and sealing your grout, you can save money, prevent the growth of unsightly mold and mildew, and preserve your home’s value. It’s a small but essential task for any Florida homeowner looking to keep their kitchen and bathroom tiles looking pristine. Take control of your home’s upkeep today and enjoy the peace of mind that comes with a truly clean and protected space.