Summer living often means more time outdoors, which inevitably means more dirt, sand, salt, and chlorine making their way into your home. A dedicated beach rinse-off station or outdoor shower solves this problem beautifully, offering convenience, cleanliness, and a refreshing experience. You might think installing one is complicated, but many effective and charming DIY outdoor shower ideas are surprisingly simple to execute.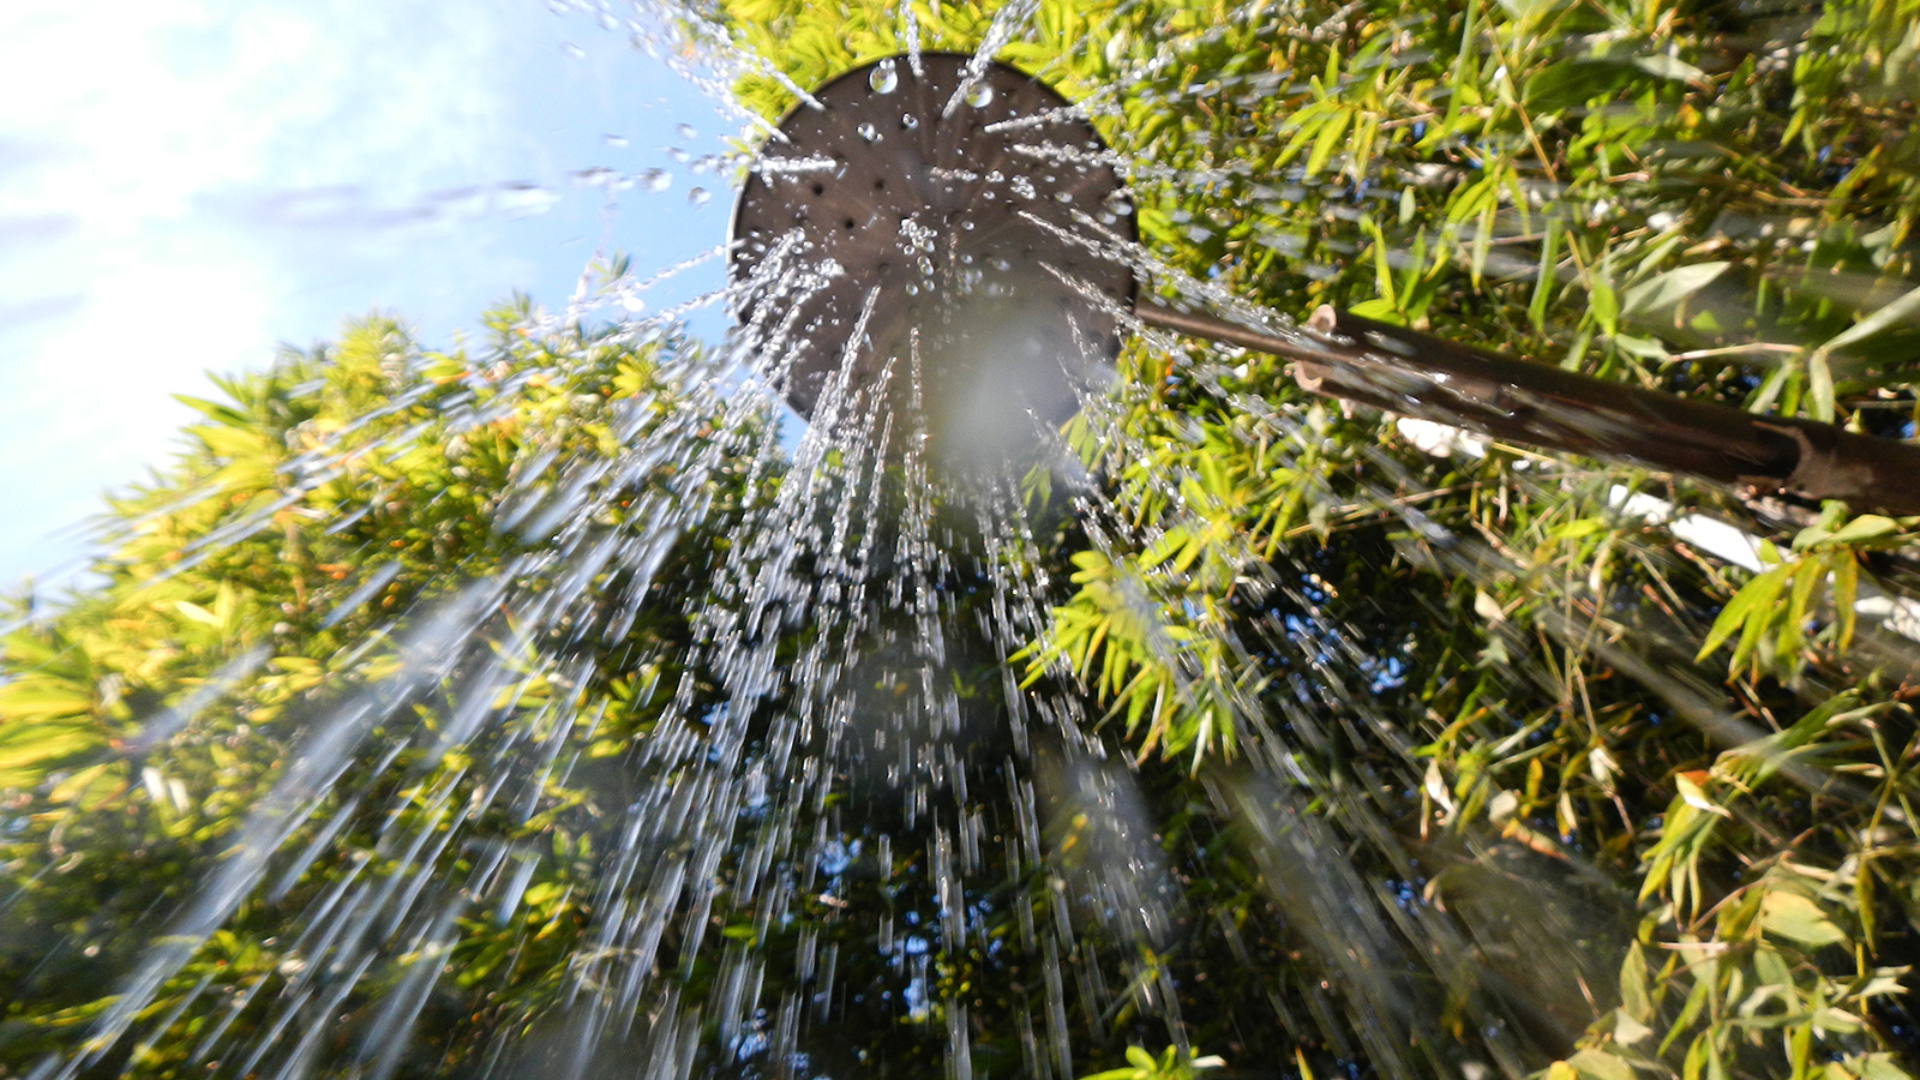
This guide focuses on straightforward, DIY-friendly methods for adding a basic, functional outdoor shower to your backyard. Get ready to embrace the ultimate backyard convenience and keep your indoor spaces cleaner!
Your DIY Outdoor Shower Project: 3 Simple Steps to Backyard Bliss
Before you start, choose a location with good drainage (e.g., a gravel bed, a spot near a garden) and consider privacy. Ensure easy access to a garden hose or an existing outdoor water spigot.
Step 1: Choose Your Simple Shower System
The beauty of a basic rinse-off station is that it doesn’t always require intricate plumbing.
The Garden Hose Hookup (Easiest DIY): This is the simplest method and perfect for a beach rinse-off station.
What you need: A good quality garden hose, a garden hose splitter (if you want to use the spigot for other things too), and an outdoor shower head attachment that connects directly to a standard garden hose. You can find these as simple handheld sprayers or fixed showerheads on a pole.
Installation: Simply attach the splitter to your outdoor spigot, connect your garden hose to one side, and then attach your chosen outdoor shower head. You can mount the showerhead to a fence, a sturdy post, or even a tree with proper brackets.
Benefits: Inexpensive, requires minimal tools, and can be set up in minutes. Provides cold water only, but perfect for a quick cool-down or rinse.
Portable Outdoor Showers (Ultra-Flexible): For renters or those who want no permanent installation.
What you need: Gravity-fed bag showers, pump sprayers with shower nozzles, or battery-operated portable shower units (like RinseKit).
Installation: Varies by type. Gravity bags hang from a high point, pump sprayers are manually pressurized, and battery units are self-contained.
Benefits: No plumbing, completely movable, great for camping or temporary setups.
Step 2: Create a Drainage Solution
Proper drainage is essential to prevent standing water, mud, and potential foundation issues.
Gravel Bed: This is the most common and DIY-friendly drainage solution.
How-to: Dig a shallow pit (6-12 inches deep) roughly 3×3 feet or larger, depending on your shower size. Line it with landscape fabric to prevent weeds, then fill it with gravel or river stones. This allows water to naturally percolate into the ground.
Benefits: Simple, effective, and visually appealing.
Wooden Slatted Platform: While not a drainage system itself, a slatted platform helps water drain through it, keeping your feet out of standing water.
How-to: Construct a simple wooden platform using rot-resistant lumber (like cedar or treated pine), spaced to allow water to pass through. Place it over your gravel bed or a well-draining grassy area.
Benefits: Adds a spa-like feel and prevents muddy feet.
Consider Permitting: For more permanent installations connected to your home’s hot/cold water supply or a greywater system, check with your local municipality for building codes and permits. Simple hose-fed rinse-off stations generally do not require permits.
Step 3: Add Privacy & Enhance the Vibe
A simple shower doesn’t mean sacrificing comfort or style.
Privacy Screen:
DIY Options: Install weather-resistant privacy screens made from wood slats, bamboo fencing, corrugated metal panels, or even outdoor fabric attached to a simple frame. You can also strategically plant tall, dense shrubs or bamboo.
Benefits: Creates a secluded space for comfortable rinsing.
Hooks & Shelves:
DIY Options: Mount some weatherproof hooks on a nearby fence or post for towels and clothes. Add a small shelf or caddy for soap, shampoo, and scrub brushes.
Benefits: Keeps essentials organized and within reach.
Foot Rinse Feature:
DIY Hack: For just a foot rinse, consider a simple elevated basin with a hose sprayer, or even a large bucket with a foot-friendly brush.
Benefits: Perfect for sandy feet after the beach or pool, keeping dirt out of the house.
Aesthetic Touches:
Add potted plants around the base for a lush, natural feel.
Use decorative river stones or pebbles in your drainage area.
String up some outdoor fairy lights for enchanting evening rinses.
Conclusion: Embrace Your Backyard Oasis
Installing a simple outdoor shower or beach rinse-off station is one of the most practical and enjoyable DIY home improvements you can undertake. It’s an effective way to manage sand, dirt, and chlorine, keeping your indoor spaces cleaner and your family happier. From the effortless garden hose hookup to thoughtfully designed drainage solutions and clever privacy screens, you have the power to create a refreshing haven in your own backyard. So, gather your supplies, pick your spot, and get ready to experience the pure bliss of an outdoor rinse-off, making your home truly feel like a coastal retreat.